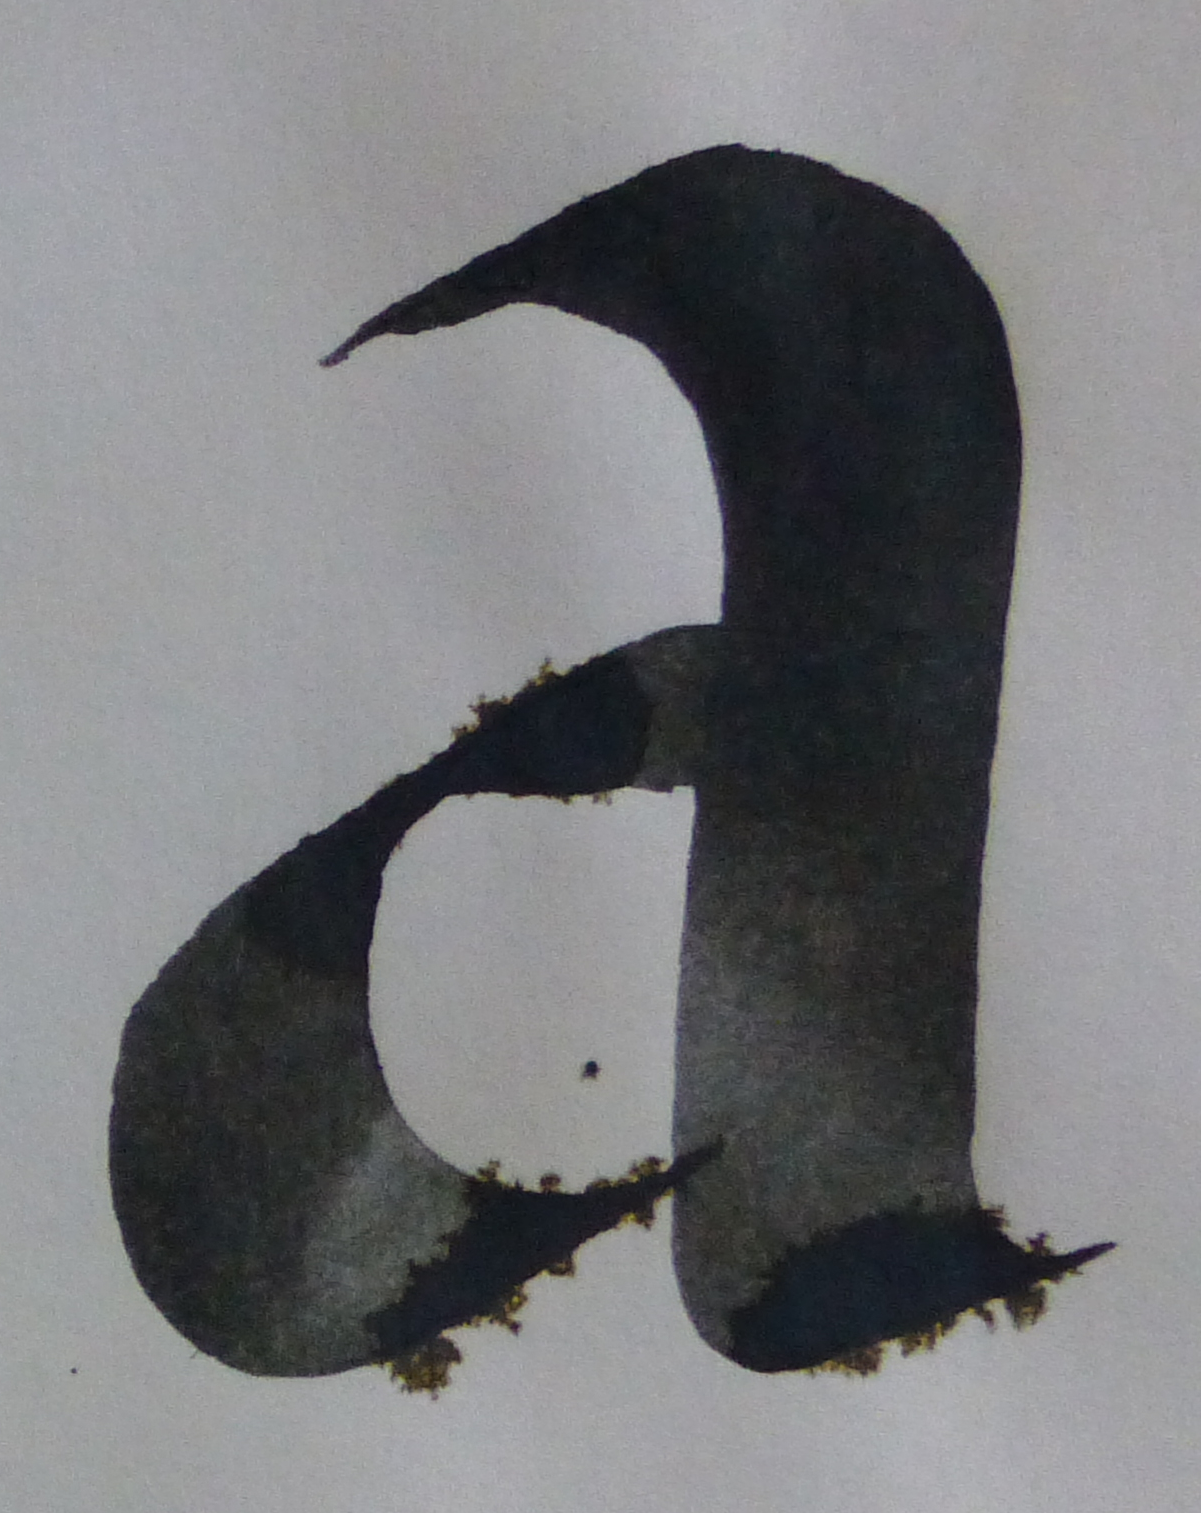
Tracing a Background Image in BirdFont
This tutorial explains how to manually create a new font from images.
You need to change stroke color to something other than grey and this is how that's done:
- Open the settings tab
- Click on color theme
- Click on the stroke color button and pick a new color in the toolbox.
- Change the handle color.
Instructions
Import a new background image
Open the overview tab and double click on the glyph you want to edit.
Select the background tool and resize the image.

The next step is to use the drawing tools to outline your background image. Select the Beziér tool and set it to use Quadratic control points (or Cubic control points if you think it makes drawing easier).
 Control point type:
Add new control points to your glyph. Use as few points as possible, you can easily add new control points with the tool for moving points later on.
Select the tool for moving control points. (m)
 You will use this tool to help you outline your background image. First, select all the nodes (points) in between the corner nodes you made with the bezier tool. As you select these points, shift+click. The color of the selected points will change to the stroke color you changed in the first four steps.
Select all the nodes **in between** the corner nodes. (Shift + Click)
Click on the "tie handles" icon
 and the handles will appear in the color you selected for them. Use these to smooth the curves of your outline.
Select the tool for moving control points, (m)

Edit the Path
Adjust the position of all control points and handles. You can add the points to the path by double clicking in the path. Delete points with the delete or backspace keys (break the path with shift + delete). Click on a handle and hold down the shift key if you want to keep the angle of a handle while you are changing the length of the handle. Press w to toggle between smooth node and corner node. Hold down the space key and click to move the canvas. Click on a point and press shift to move the point independent of its handle.
Select the background tool and click on "Show/Hide background image".
 +
+ 
Open the kerning tab. Menu → Spacing and Kerning (Ctrl+K or Command + K)
----
Here is the image:
http://birdfont.org/doku/lib/exe/fetch.php/lower_case_a.png|
