Create an Icon Font
Icon fonts have many advantages over icons in pixel based formats.
They look sharper, scale well and are supported on most browsers and operating systems but icons do not correspond to letters in the unicode specification.
This tutorial shows where to put your custom graphical elements.
1. Create a new font. File → New
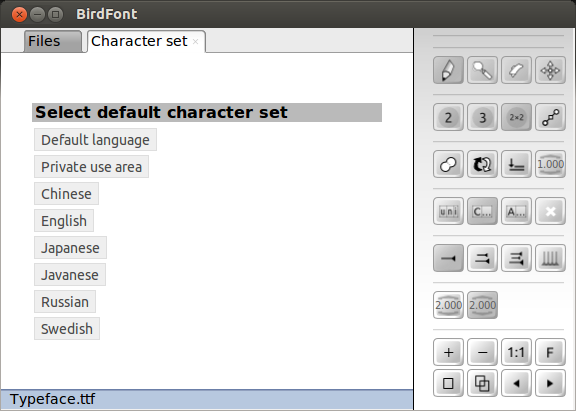
2. Open the character set tab (File → Select Character Set) and Click on "Private use area".
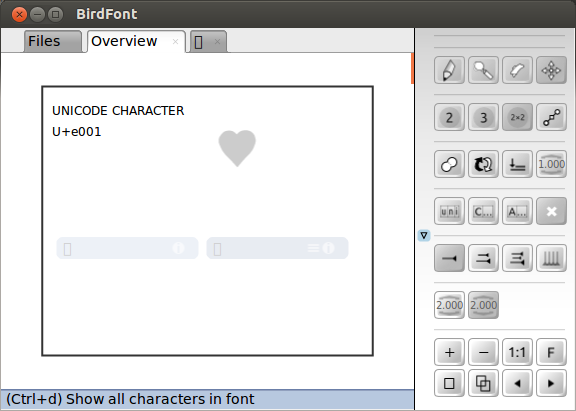
3. In the overview tab all letters with unicode points from e000 to f8ff will be displayed. Double click on a character to open it in a new tab.
4. Import your icons in SVG format or use them as backgrounds and draw your set in BirdFont.
5. Choose a name for your font and save it in a separate folder. (Ctrl+S)
6. Go back to the overview and click on the "i" below the icon you created and write down the unicode value. In this case the unicode point is e001.
7. Open the preview tab in order to generate a HTML document (Ctrl+P) and open the HTML document in in a text editor. You will find the html document in the same folder as your font files.
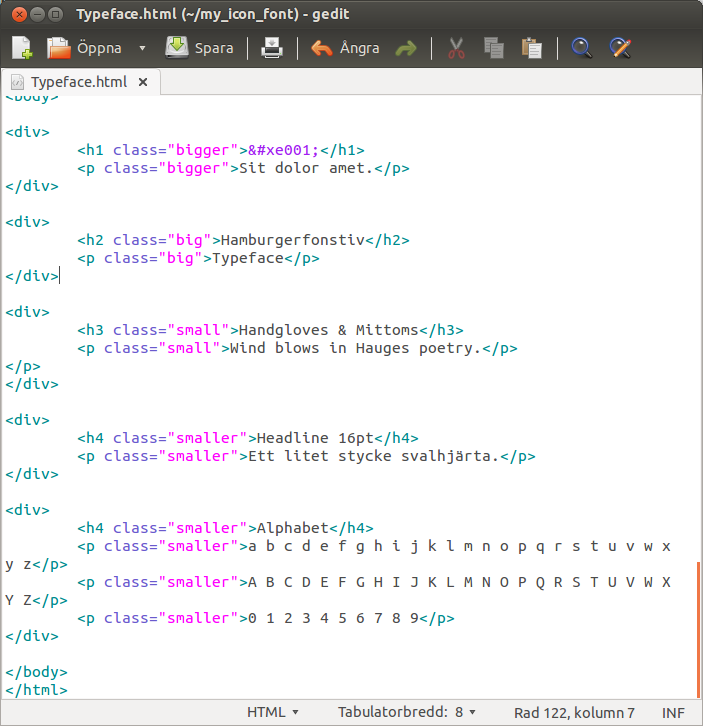
8. Scroll down to the h1 tag.
9. Replace the text in h1 with an HTML representation of the code point you wrote down. In this case will it be since the unicode value was U+e001.
10. Go back to the preview tab. (Ctrl+P)
11. Export TTF and EOT fonts. File → Export (Ctrl+E)


